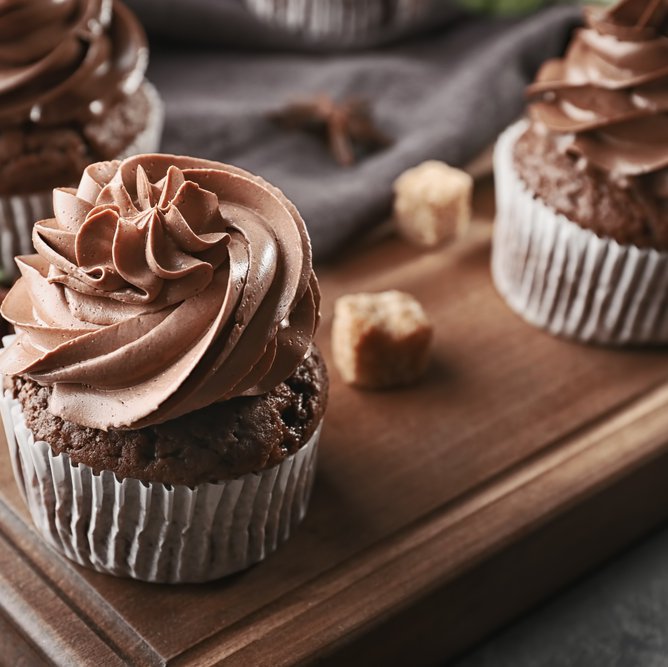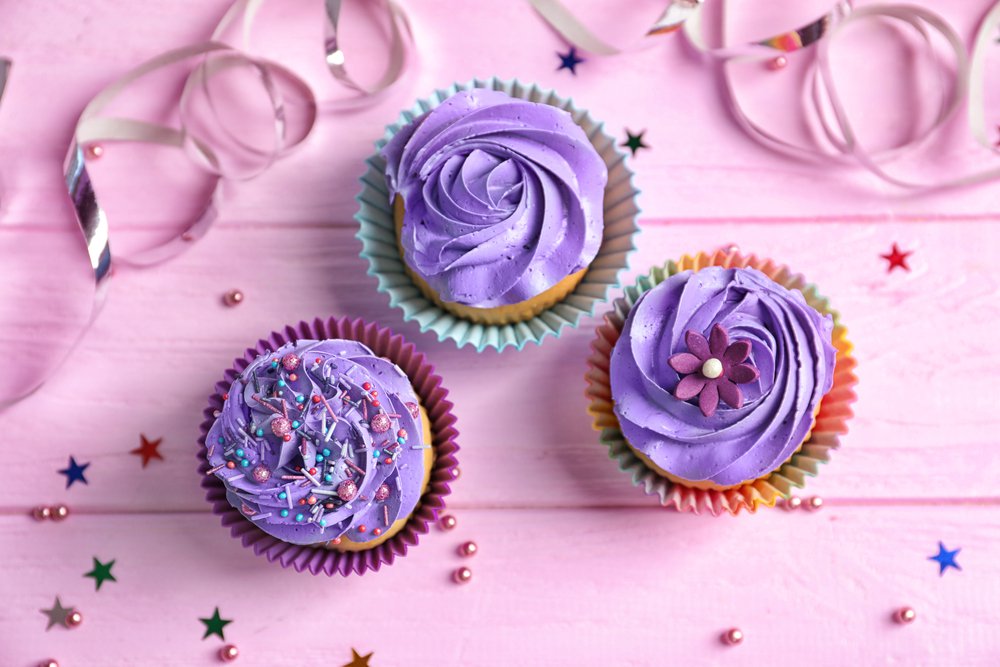
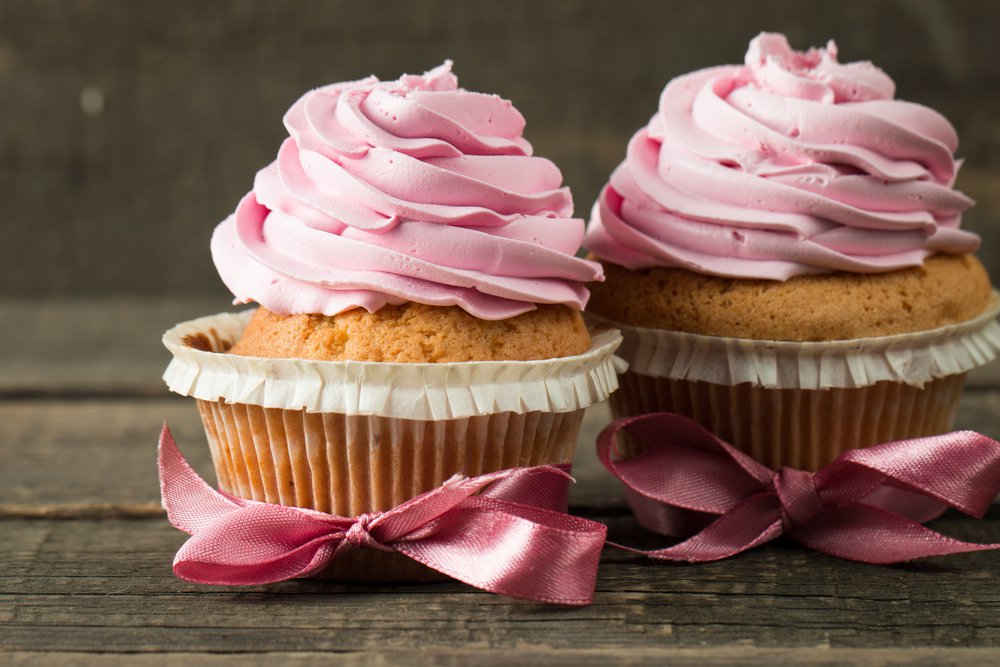
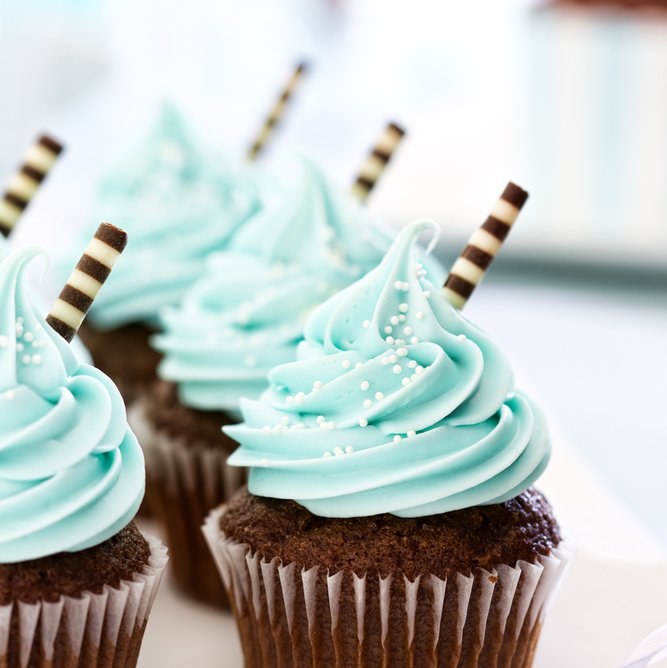
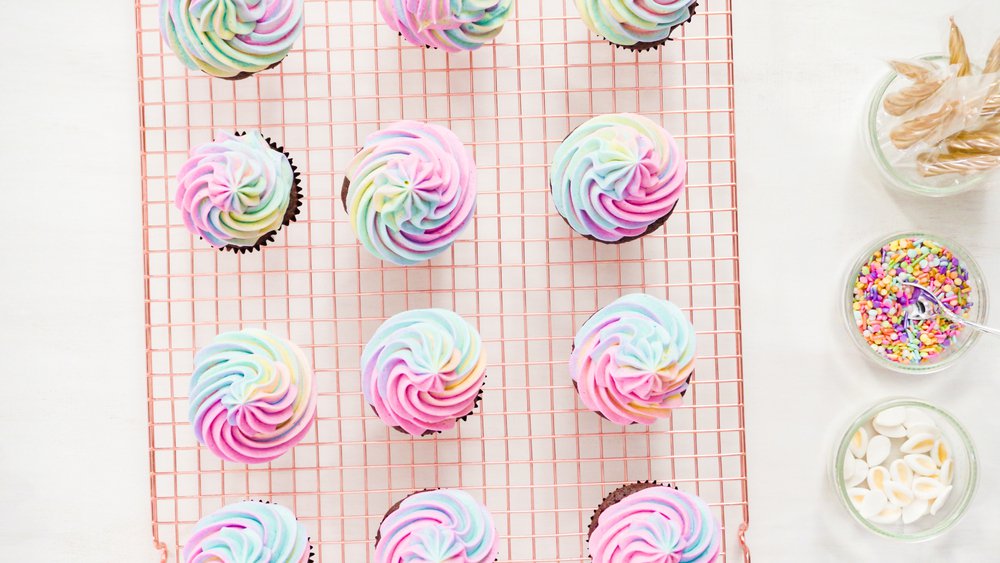
We’ve all had birthday party cupcake envy, as eyes fall on peaks of frosting atop perfectly spaced out rows of fluffy cakes. As you pay compliments to the host, you simultaneously wonder why your attempts at cupcakes always look like a three-year-old was in charge. Decorating with a piping bag and tip is one of the most fundamental skills in cake decoration and it’s made even easier with the range of tools available at Spinneys.
Preparing the bag
Disposable icing bags mean less mess, especially when it comes to dish-washing time. Drop the base of the nozzle to the end of the decorating bag. Push the nozzle base back into the bag and cut at the mark. You should be able to push a small part of the nozzle out of the opening of the decorating bag.
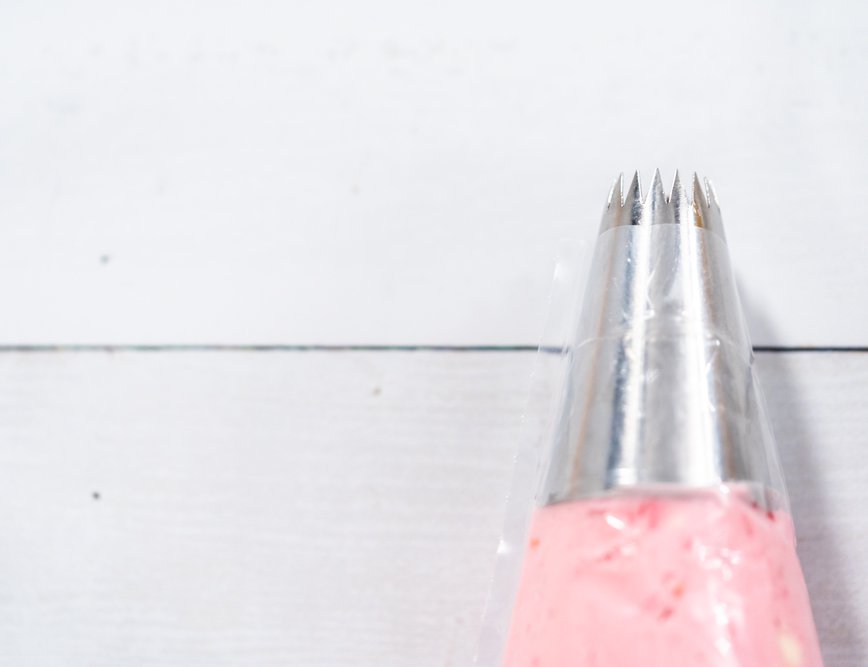
Make sure the tip is at the end of the bag as far as it will go. Select your tip based on the style of your frosting lines. The packets will give you an idea but it’s often a good idea to have a go and decide which you prefer. The Wilton Easy Blooms and Wilton Easy Borders nozzle sets are both great options.
Everything you need for inspirational baking
Cookies, candy pops and cake decorating


AED 55.75 / Each
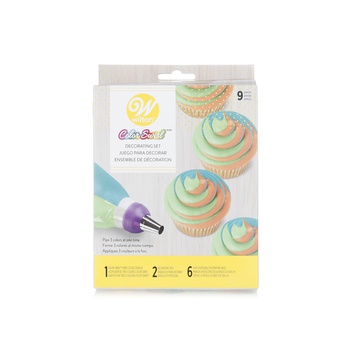
Wilton colour swirl piping bag coupler decorating kit
Rest of the aisle
0
Filling the bag
The key to filling a bag properly is making sure that you don’t overfill it. A bag with too much icing is harder to squeeze and also harder to control. Start with about four large tablespoons of icing for best results. Fold the top of the bag down (about halfway) to create a cuff and use a spatula to place icing inside. Gently squeeze the icing towards the bottom of the bag.

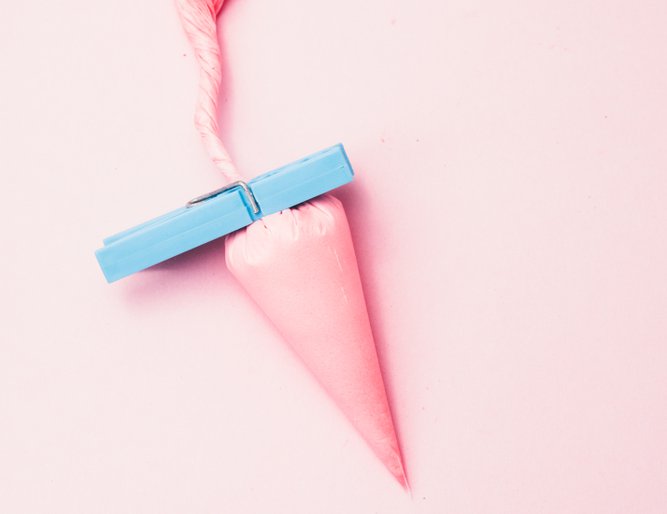
You can secure with a bag with Wilton icing bag ties to prevent the icing from oozing upward. Alternatively, you can use a food bag clip or even a clothes peg.
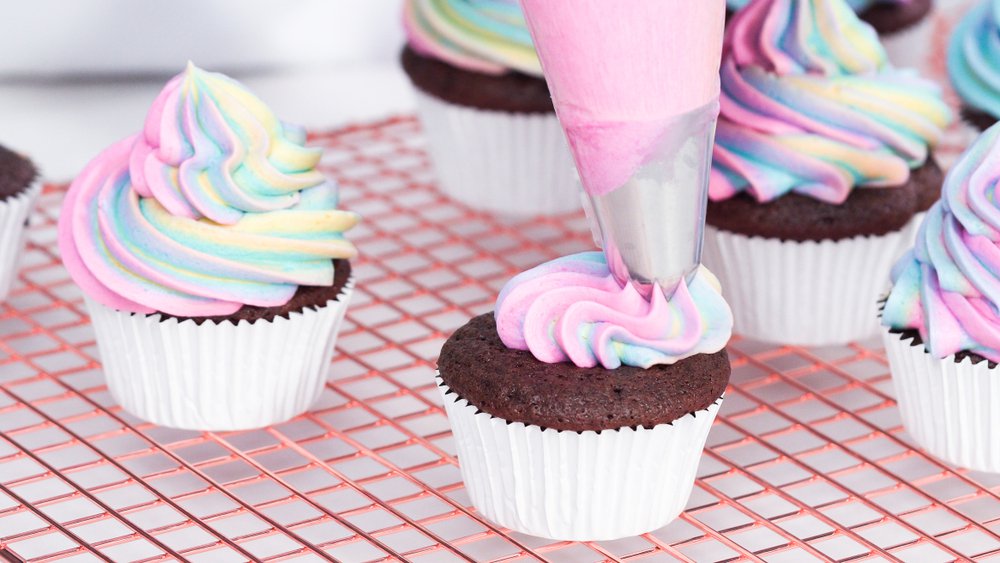
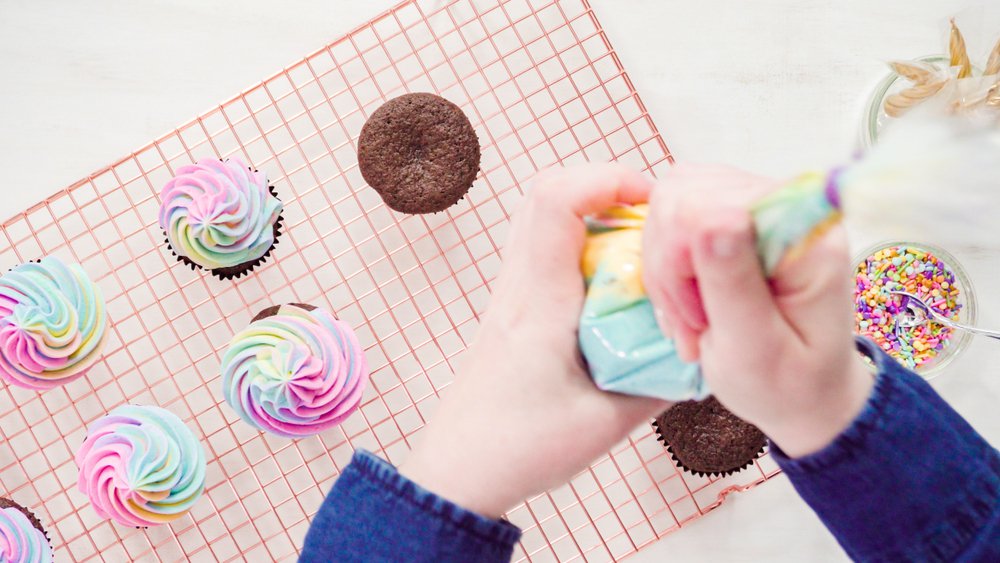
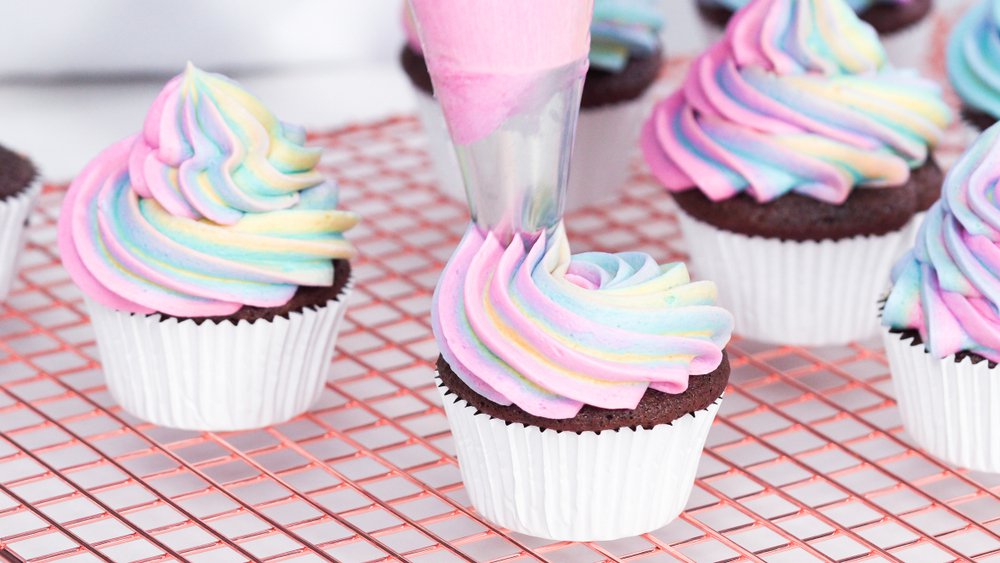
Piping your cupcake icing
Making your own buttercream from scratch is a great way to add flavour and personal flair to your cakes and cupcakes, but if you are tight on time then Betty Crocker has done the hard work for you with her vanilla and chocolate frosting. Changing the consistency of your frosting is one of the easiest fixes, making it easy to achieve the consistency you need for your cupcakes. Generally adding more liquid (water) will thin down your frosting while icing sugar will make it thicker. Doing this will affect the taste of your frosting, so be sure to take it slowly and sample as you go.
Before starting a project, practice piping on a cutting board or a flat surface that can be wiped clean.
Stock the pantry for all your baking needs
The great UAE bake off
Left-handed piping
Although directions are written for both right and left-handed decorators, pictures usually show right-handed decorating. Spinneys carry left-handed cake decorating tools to make life a little easier. The Wilton left-handed frosting nozzles are a great place to start. Here are a few tips for left-handed cake decorators.
When piping a line of decorations (such as borders), work from right to left so that your hand doesn’t block your line of sight. This will make it easier for you to see where you will pipe your next decoration.
Look at photos in reverse. If you have access to a copy machine or scanner, try reversing the images to get a better idea of how a technique should look.