| Created by | Spinneys |
| Prep time | 25 minutes |
| Soaking time | Overnight |
| Resting time | 30 minutes |
| Cook time | 25 minutes |
| Serves | 10 large breads or 16 small breads |
| Cuisine | Arabic |
| Diet | Family Friendly |
| Preparation | Hard |
Ingredients

Cooking Instructions
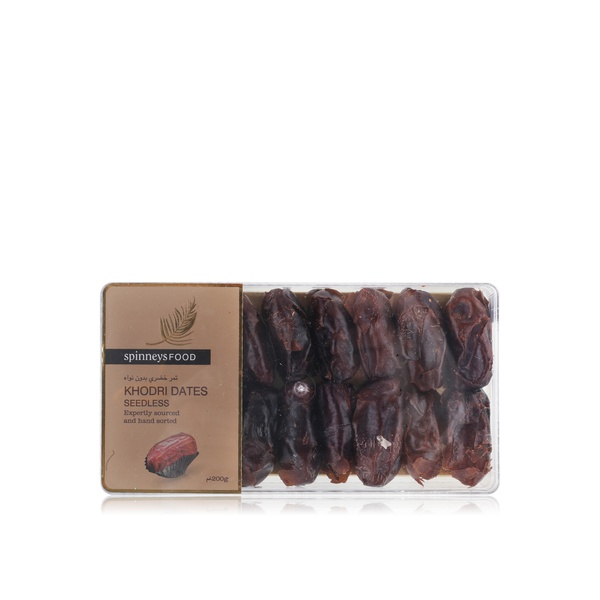
Download PDFPlace the dates in a bowl along with 250ml of boiling water. Leave to soak overnight or for a couple of hours to soften. Once softened, use your hands to massage the dates until they break down into a pulp.
Either in a large bowl or a mixer, combine the flour, date pulp, salt and 3 tablespoons of the ghee with the coconut milk or room-temperature water. Mix the ingredients together by hand, or on a low speed if using a mixer, until the dough comes together in a ball.
Knead the dough for 15-20 minutes by hand, or for 10 minutes on medium speed if using a mixer, until it is smooth and soft. Cover the bowl with cling film and leave to rest for 1 hour.
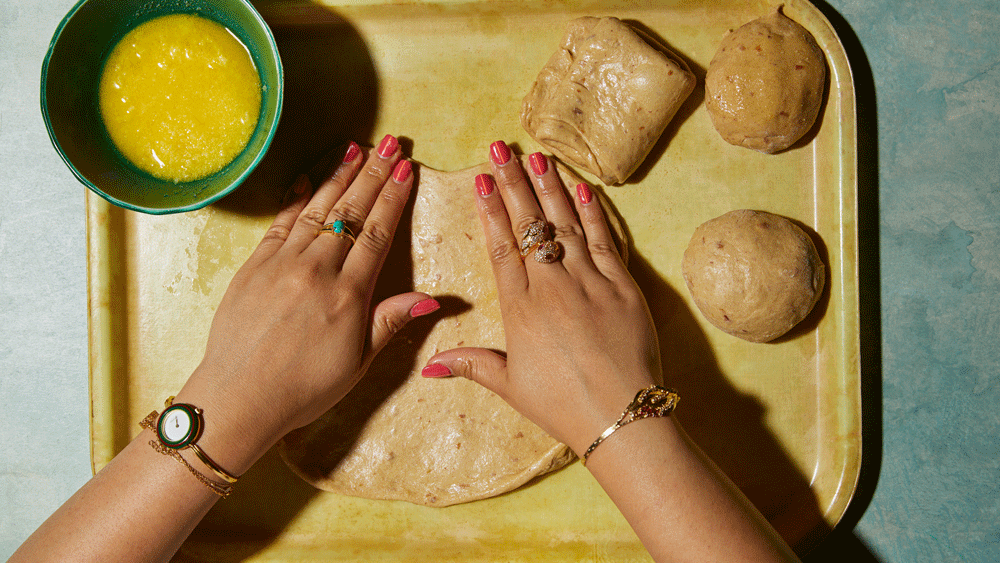
After the dough has rested, divide it into 10 balls (if you want large breads) or 16 (if you want smaller breads). Take the first ball and roll it out as thinly as possible, ideally trying to keep it square, but don’t worry too much about the shape at this stage. Sometimes, using your hands to stretch the dough is easier. If you are struggling to roll it thinly enough, spread a little warm ghee on your work surface and on the dough; this should help the dough to spread.
Once the dough is as thin as possible, drip 2 teaspoons of warm ghee onto the dough. Use your hands to spread it all around, making sure there are no dry parts. Now take the right-hand side of the dough and fold it into the middle. Then fold the left-hand side into the middle, leaving you with a rectangle. Next, fold the bottom of the rectangle into the middle, then fold the top into the middle. Flip it over, and you should be left with a neat square. Place this square on a plate and cover with cling film, or a clean cloth. Repeat with the rest of the balls. Once you have rolled and folded the dough into squares, you can create layers by repeating exactly the same process. You don’t need to roll them out as thinly as the first time; you just need them to be big enough to fold. Roll out the first square, keeping the shape, and refold as above to create extra layers. Repeat with the remaining squares. You can skip this step if you don’t want the extra layers. Leave the dough squares to rest for at least 30 minutes.
Heat a frying pan over a medium-high heat.
Take one dough square and roll it out, keeping the square shape, until it is about the thickness of a coin, then place it in the hot frying pan. Take 1 teaspoon of hot ghee and spread it around the edges of the dough. Allow the bread to fry slightly for 2 minutes, just enough so you can lift it with a spatula and flip it over, then take some more ghee and spread it around the edges on the other side. Press down on the edges of the dough with your spatula so they begin to fry well – we want the edges to be slightly crunchier, and the middle softer, which is why you spread the ghee on the edges first. Now flip the bread once more and spread ghee all over it. Fry for 2-3 minutes, then flip again and spread ghee all over the other side – we don’t want dry bread! Using your spatula, press down on the bread in the middle, rotating it in the pan at the same time, to make sure that it browns evenly all over. This will take approx. 2-3 minutes. Flip once more and do the same on the other side. If the bread is browning too quickly, or charring on the outside, reduce the heat. Once you are happy that the paratha is fully browned and cooked through, transfer to a plate and repeat with the rest!
Serve the parathas with accompaniments. These breads will keep, wrapped in cling film in the fridge, for up to a week. They can also be frozen for up to a month and reheated in a frying pan with some ghee.